Interior Painting the guide
Are you looking to give your home a new look and a fresh coat of paint?
Painting your home’s interior can be a great and cost-effective way to bring a new level of brightness and life to your living space.
In this guide, we’ll discuss the basics of interior painting and how to achieve the desired effect.

Preparing the Room
The first step in interior painting is to properly prepare the room you’re painting. This includes removing any furniture and decorative pieces, covering all flooring, and taping off any areas you don’t want to be painted. It’s also important to repair any cracks, holes, or other imperfections in the wall.
1.Prepare the surface: Before you start painting, make sure the surface is clean and dry. Repair any cracks or holes, and sand the surface to create a smooth, even texture. This will help the paint adhere properly and create a flawless finish.
2.Use high-quality brushes and rollers: Using quality brushes and rollers can make a big difference in the outcome of your paint job. Good quality tools will apply the paint more evenly, with fewer streaks and marks.
3.Use painter’s tape: To avoid accidentally painting on surfaces you don’t want to, use painter’s tape to mask off the areas you want to protect. Apply it carefully and remove it immediately after painting, to avoid pulling off any fresh paint.
4.Paint in a well-ventilated area: Painting can release fumes and particles into the air, so it’s important to paint in a well-ventilated area. Open windows and doors, and consider using a fan or air purifier to help circulate the air.
5.Take your time: Rushing through a paint job can result in a messy finish. Take your time and be patient, especially when painting corners and edges. Use even strokes and avoid overloading your brush or roller with too much paint.
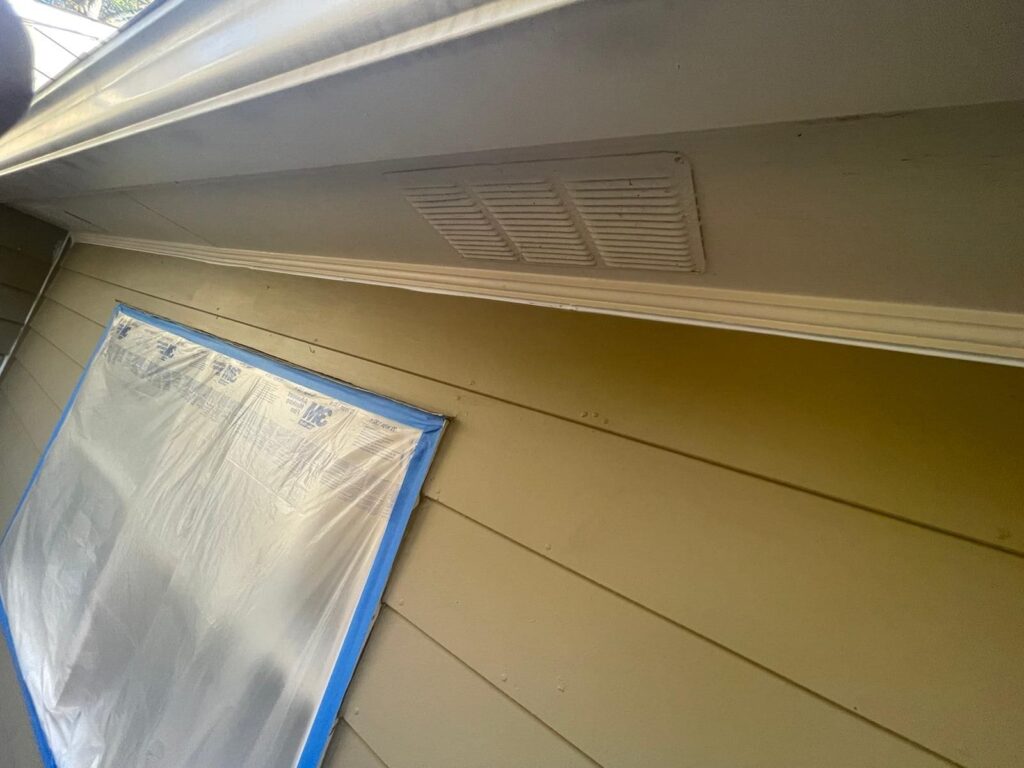
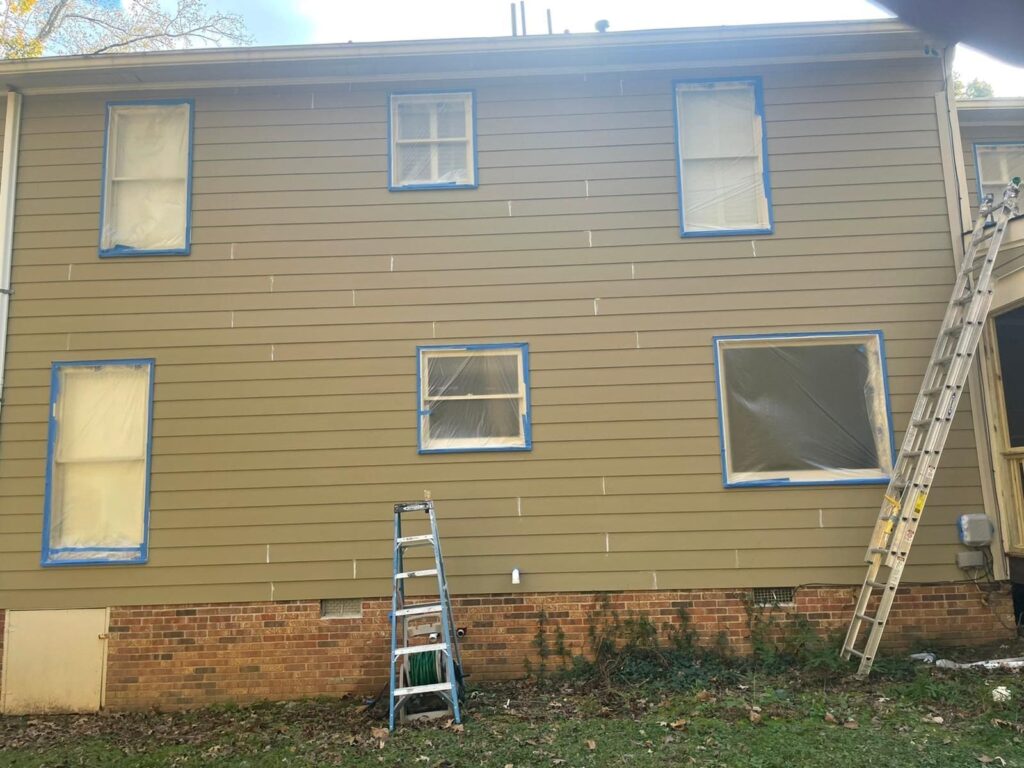
Essential House Painting Preparation Tools and Supplies:
1.Painter’s tape:
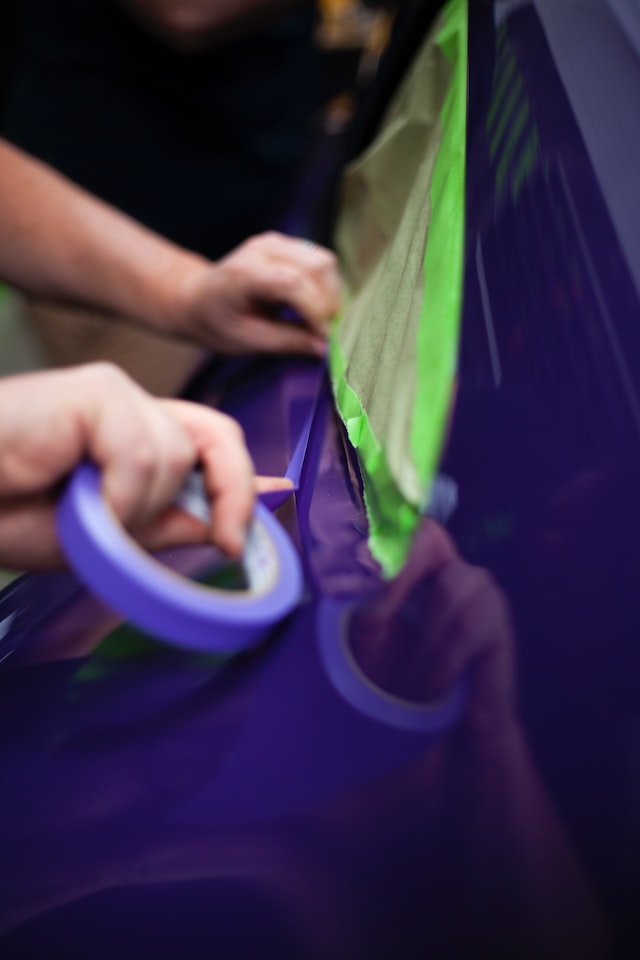
Use high-quality painter’s tape to create clean lines and protect areas you don’t want to paint. Be sure to apply the tape correctly for best results. For instance, 3M ScotchBlue Original Painter’s Tape is a popular choice due to its ability to create sharp lines and easy removal without leaving residue.
2.Drop cloths or plastic sheeting:
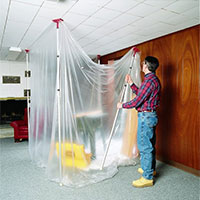
Cover floors and furniture with drop cloths or plastic sheeting to prevent paint spills and splatters. Consider using canvas drop cloths, as they are reusable and absorbent, which makes them easier to manage during clean up.
3.Sandpaper or sanding blocks:

Sanding helps to smooth rough surfaces and create a good base for the new paint. Start with a coarse grit sandpaper to remove old paint or rough spots and move to a finer grit for a smoother finish. Make sure to wear a dust mask while sanding.
4.Putty or wood filler:
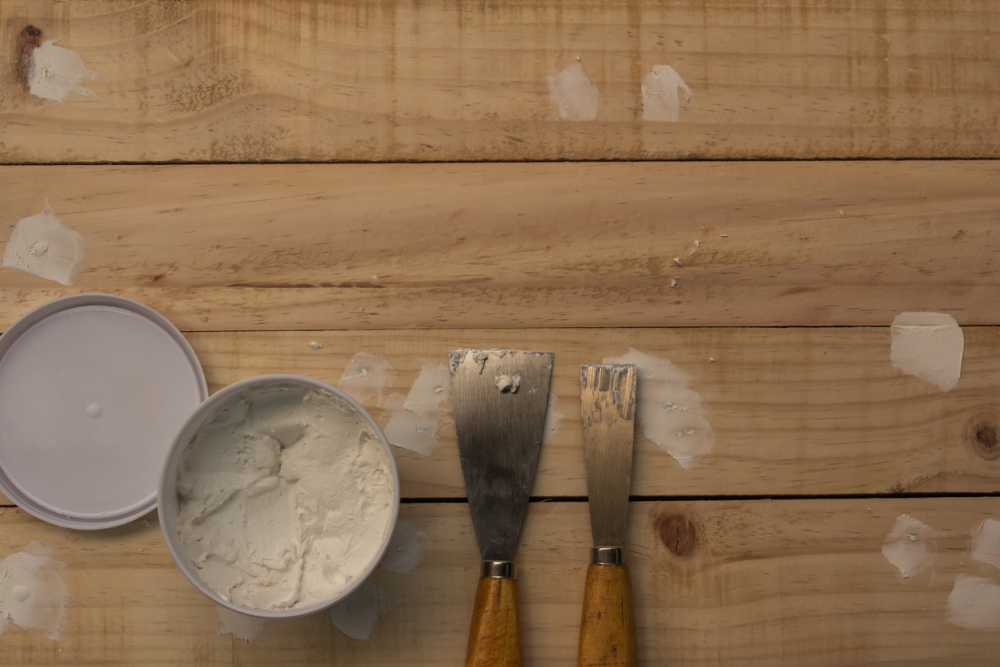
Fill in any gaps or holes in the walls or woodwork with putty or wood filler before painting. Apply with a putty knife and sand smooth once dry. This will create a clean and uniform surface for your new paint.
5.Paint scraper or putty knife:
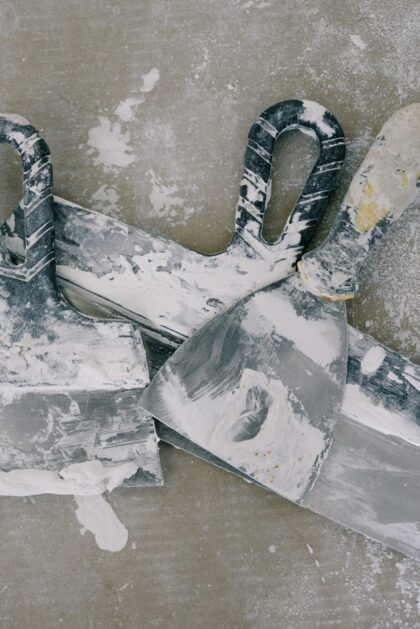
Use a paint scraper or putty knife to remove loose or peeling paint from surfaces. For stubborn paint, consider using a heat gun to loosen it before scraping.
6.Caulk and caulk gun:
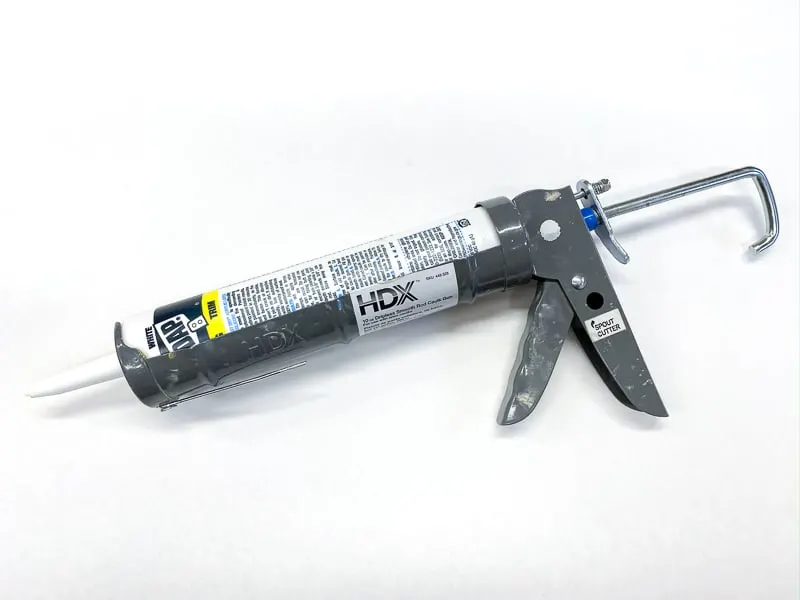
Seal gaps and cracks around windows, doors, and baseboards with caulk. Choose a paintable caulk and use a caulk gun for an even application.
7.Cleaning supplies:
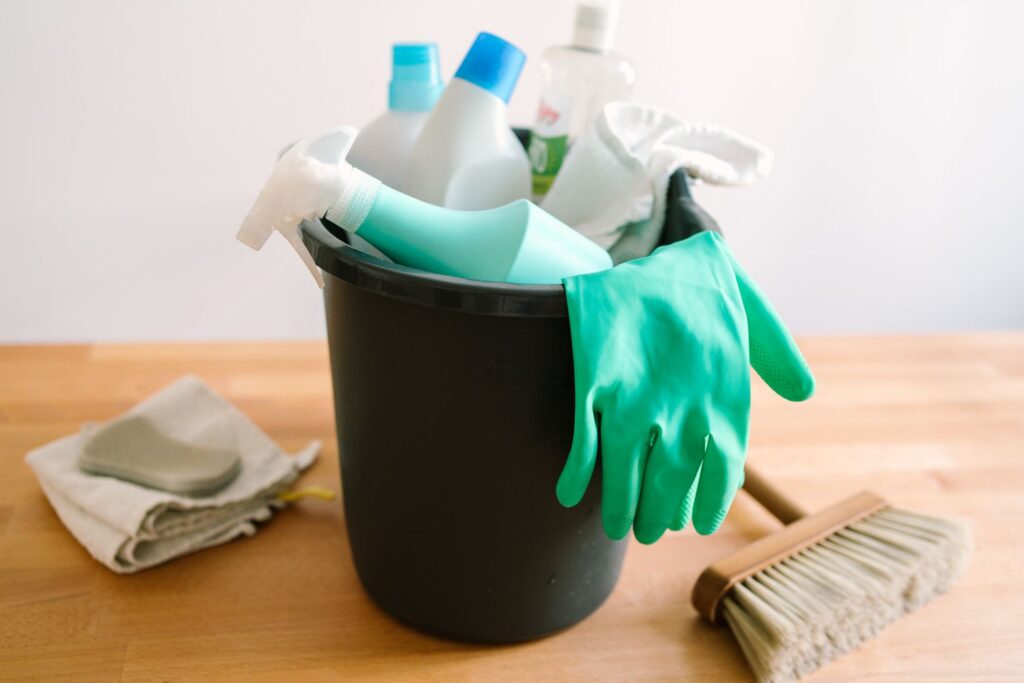
such as a bucket, sponges, and TSP (trisodium phosphate): Clean surfaces thoroughly before painting to remove dirt, grease, and other contaminants. TSP is a powerful cleaning agent that can help remove tough stains and grime from surfaces.
8.Power washer or hose:

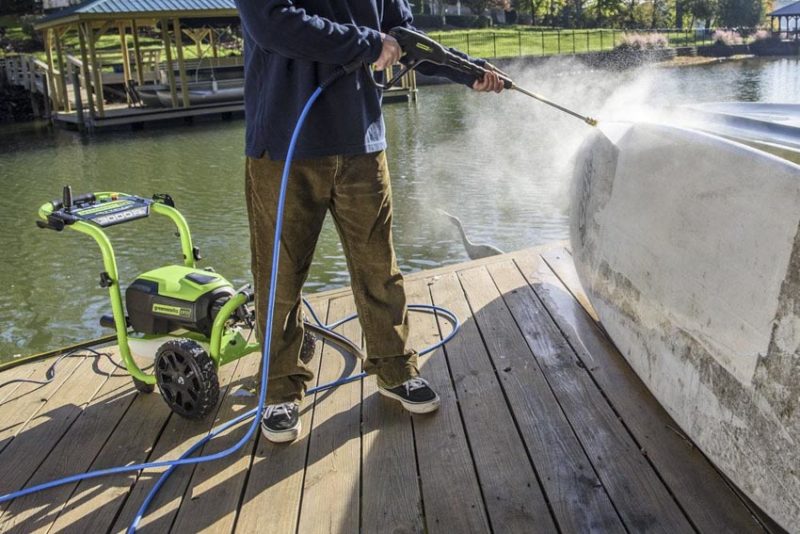
Use a power washer or hose to clean exterior surfaces such as siding, decks, and patios before painting. This will remove dirt, mildew, and other debris, and create a clean surface for the paint to adhere to.
9.High-quality Primer:
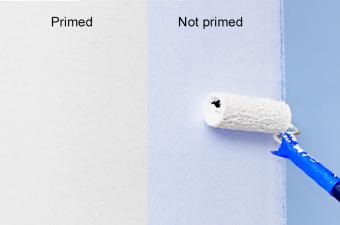
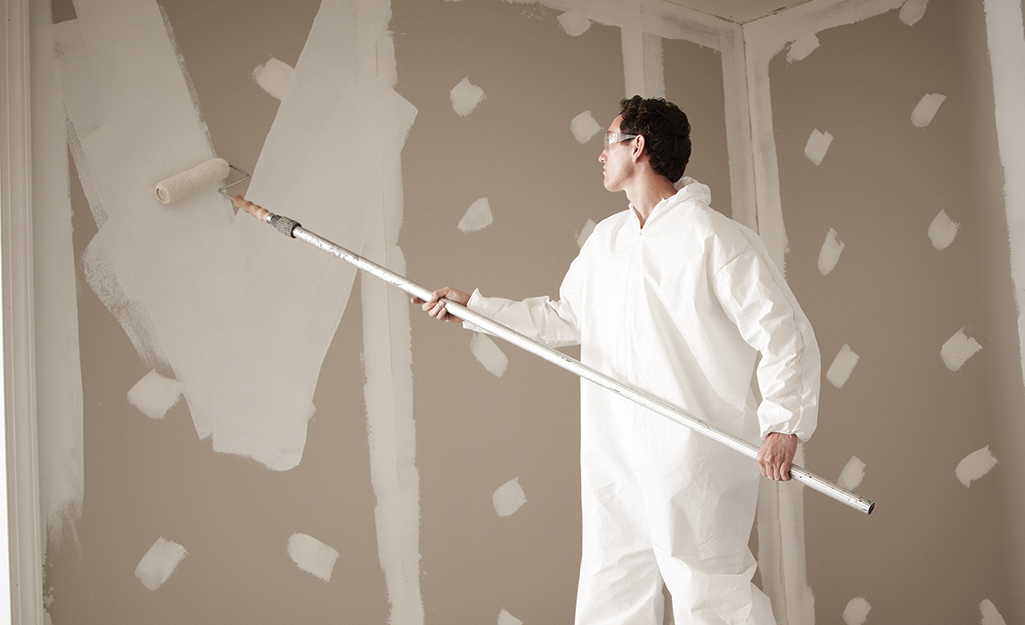
Use a high-quality primer to help the paint adhere better and create a smoother finish. This is especially important if you’re painting over a darker color or a surface that has not been painted before.
10.Paint brushes, rollers, and paint trays:
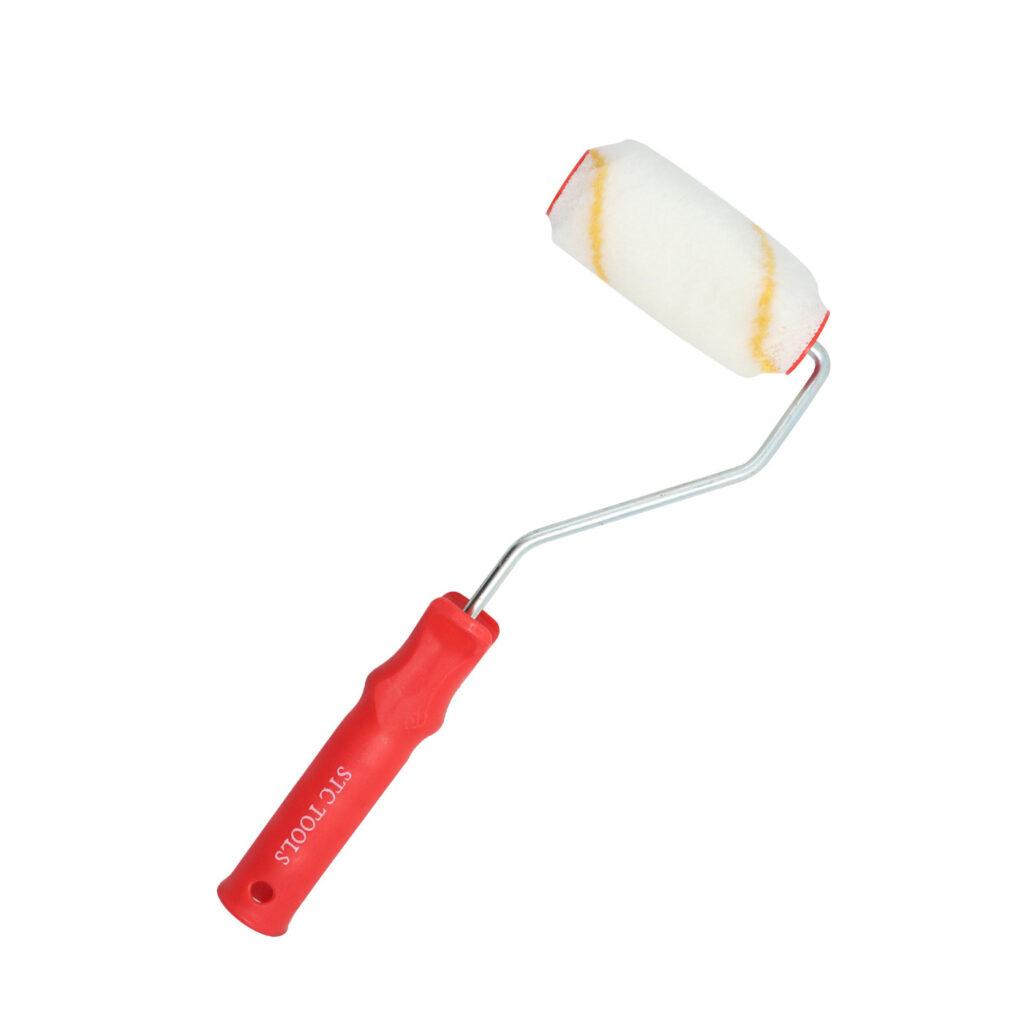
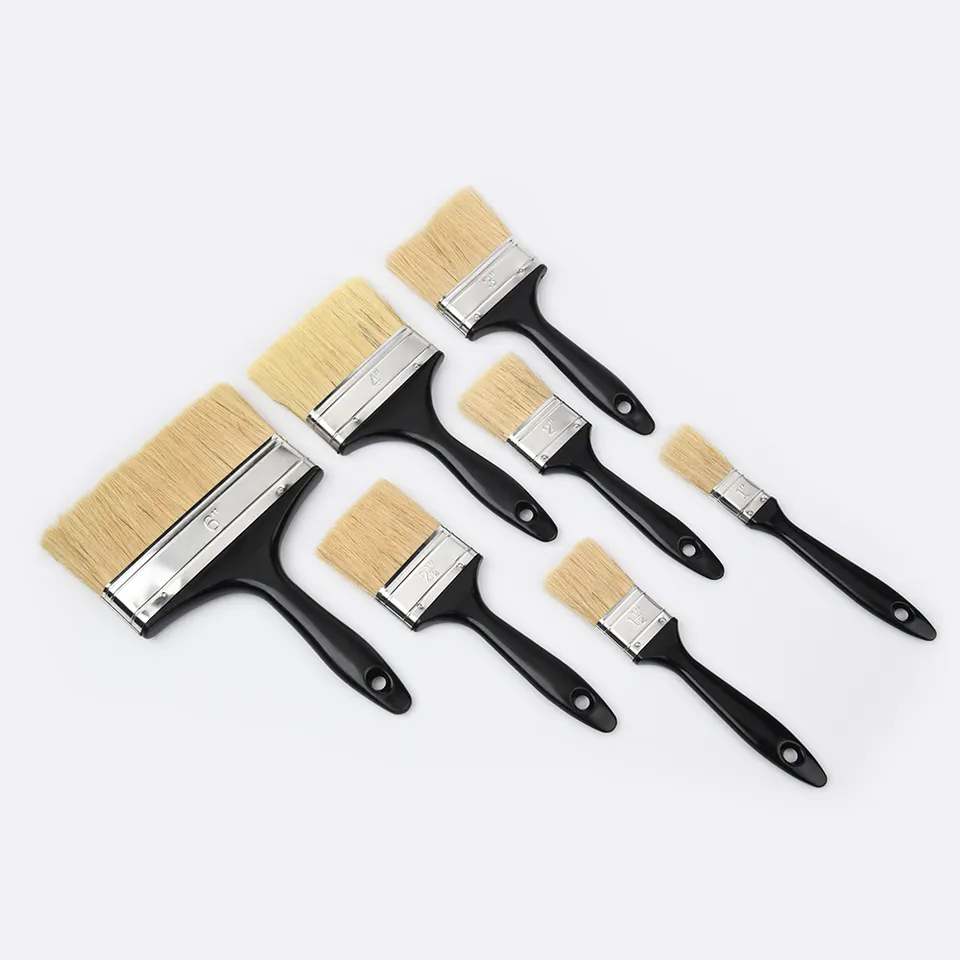
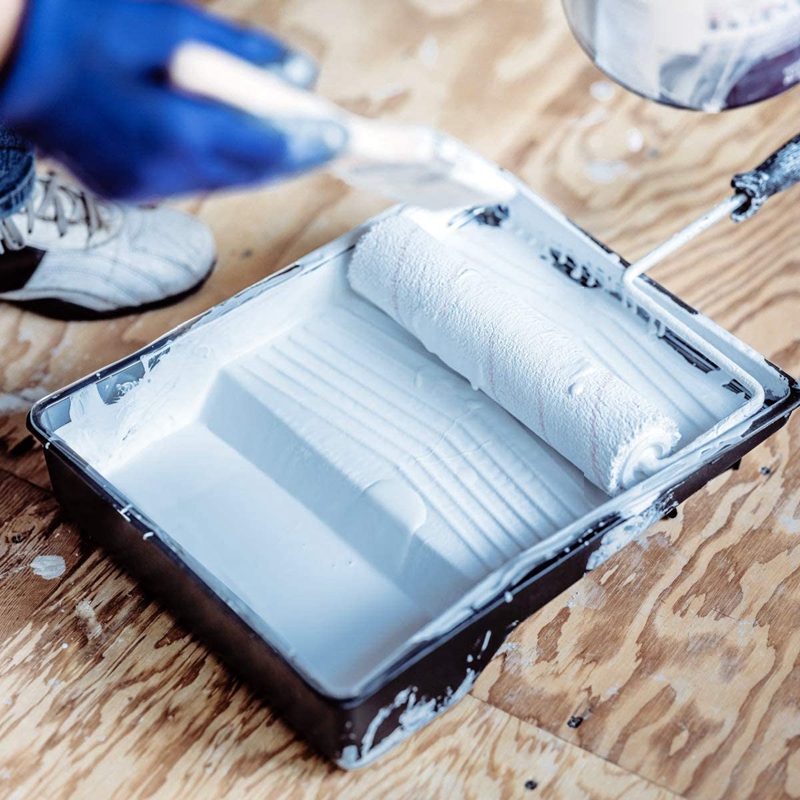
Choose the right tools for your painting project. For instance, use brushes for trim work and rollers for larger surfaces. Look for quality tools to ensure a smooth and even application.
11.Ladder or scaffolding to paint:


Invest in a sturdy ladder or scaffolding to safely reach high areas such as ceilings or second-story walls. Make sure the ladder is secure and level before using it.
12.Protective gear such as goggles, gloves, and a respirator to paint:

Protect yourself from paint fumes, dust, and other hazards by wearing protective gear. Goggles will protect your eyes from paint splatters, gloves will protect your hands, and a respirator will help you breathe easier while painting.
Choosing the Right Paint
Once you’ve prepared the room, it’s time to choose the paint. It’s important to choose the right type of paint for the project, as different types of paint are suitable for different surfaces. You’ll also need to decide on the color and finish. Glossy finishes reflect more light and brighten up a room, while matte or eggshell finishes create a more subtle effect.


5 Tips for Choosing the Right Paint for Your DIY Home Painting Project
1.Consider the finish: There are several types of paint finishes, from matte to glossy, each with its own advantages and disadvantages. For example, a matte finish is good for hiding imperfections, while a glossy finish is durable and easy to clean.
2.Choose the right type of paint: There are different types of paint for different surfaces, such as interior walls, exterior siding, and metal surfaces. Make sure you choose a paint that is appropriate for the surface you will be painting.
3.Check the color in different lighting: The color of the paint can look different depending on the lighting in the room. Make sure to test the color in different lighting conditions to ensure you like it before committing to a large project.
4.Consider the sheen: The sheen of the paint affects the way the color appears and how light reflects off of it. A high-gloss sheen can make a room feel more vibrant, while a flat sheen can create a more subtle and relaxed feel.
5.Invest in quality paint: Higher quality paint may cost more, but it can save you time and money in the long run. Quality paint is more durable, has better coverage, and can last longer, which means you won’t have to repaint as often.


Painting the Room
Once you’ve selected the paint, it’s time to start painting. Start with the ceiling, then the walls, and finally the trim. Take your time and use a brush to get into the corners and edges. Make sure to use even strokes and to paint in a well-ventilated area.
Finishing Up
Once you’ve finished painting, it’s important to let the paint dry completely before you start putting anything back in the room. You can also seal the paint with a clear coat to protect it from fading or damage.
Congratulations!
You’ve now completed your interior painting project and can enjoy the bright, refreshed look of your home!
